
Your bedroom floor. It’s the one enemy that stares up into your face each morning, as you contemplate rolling out of bed or not. Just ask Dr. Kali Cyrus.
“I don’t feel like being active again,” she lamented in an NPR interview. She’s just a victim of a growing pandemic — if only she had muffin-mix pancakes in her life!
Exhaustion and lack of focus can be aided by injecting one routine into your daily schedule: By springing out of the bed to face your bedroom floor, and starting your day with a quality breakfast.
How can you fight back against the morning bug, while dishing out a breakfast that not only gets your family smacking their lips, but also injects new energy into theirs, and yours, routine?
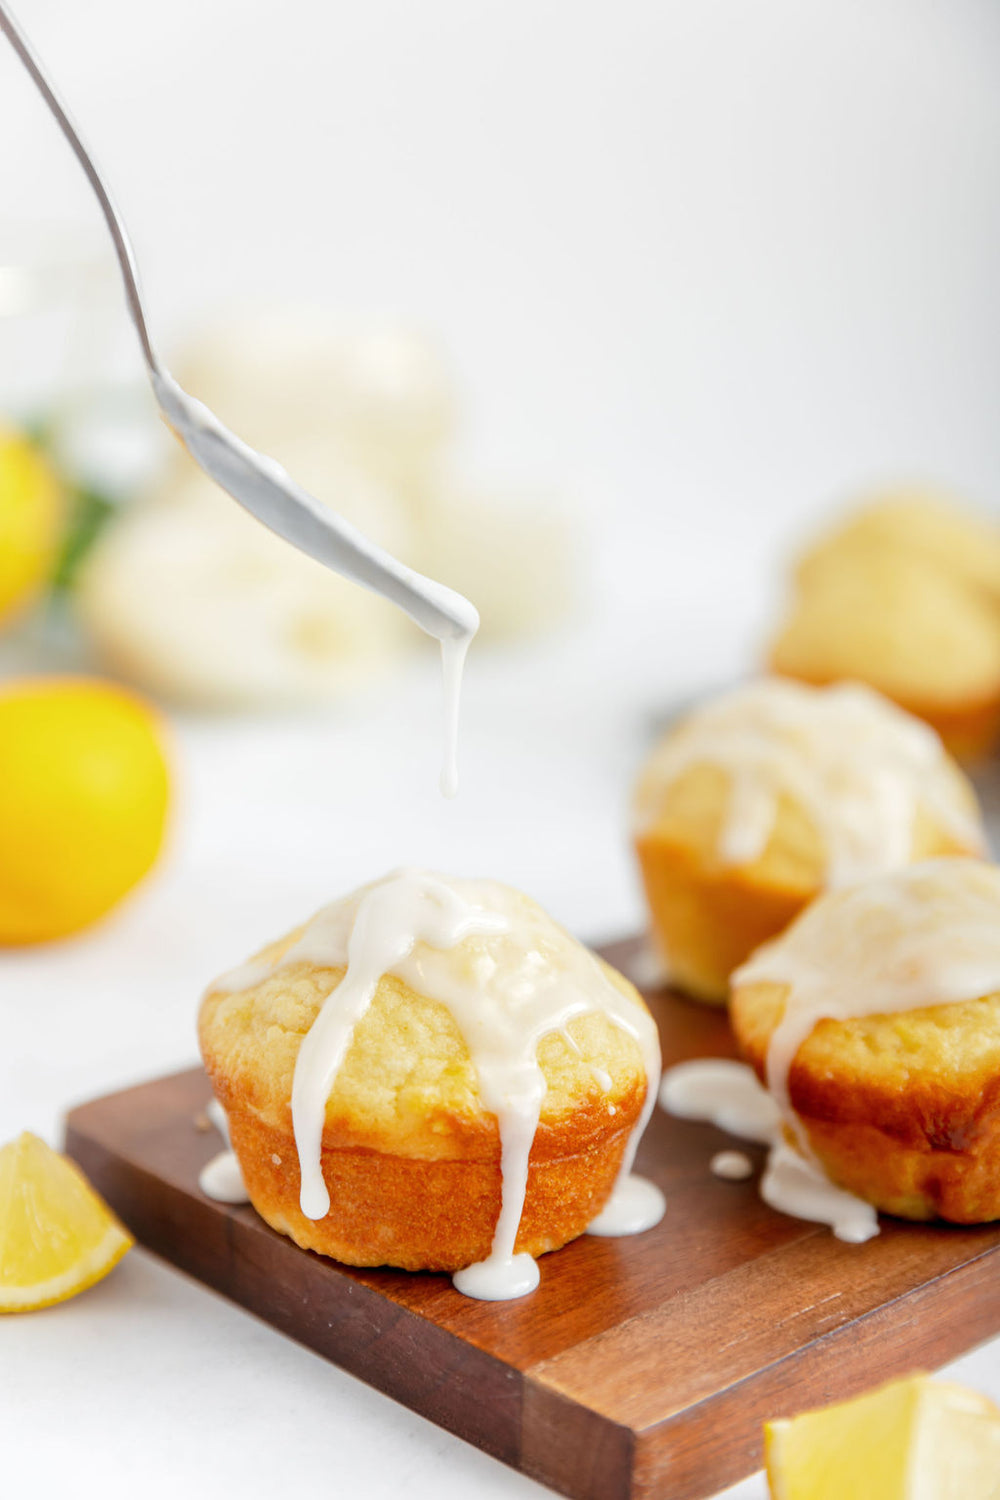
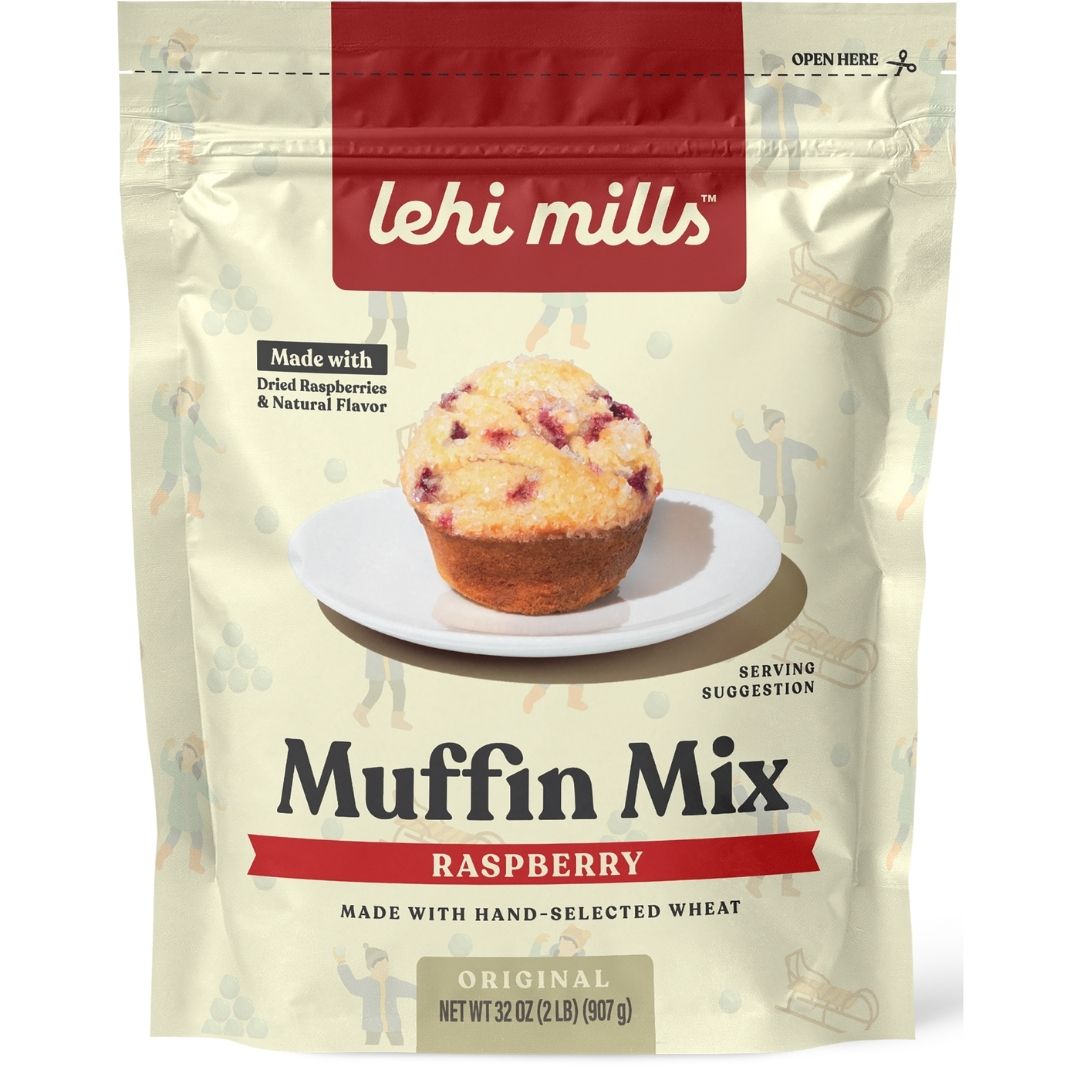
With pancakes, of course! Not ordinary pancakes, but those of the muffin mix variety. So, break open the mix, roll out the eggs, and get your milk on standby. This is the ultimate guide to Muffin Mix pancakes.
Recommended Equipment
You can’t create a masterpiece without the paint and the paintbrush. As such, you must roll out a list of the tools that you’ll need to concoct the perfect muffin mix pancake, such as this novel idea for serving your fluffy bites of heaven.
Let’s start with the foundation of any baking process: the pan.
Non-Stick Skillet, or Cast Iron?
History has played host to one kind of pan, and its iron surface has, until now, been the mainstay of kitchens around the globe: the cast iron skillet. Then the non-stick skillet entered the arena, seeking to provide the best in baking bliss for your family's breakfast needs.
Which skillet's the ideal one for your muffin mix pancake journey? As with everything in life, it’s not so clear-cut.
Benefits of a Cast Iron Skillet
Before the 1900s, the cast iron skillet was the tool that homes around the world utilized. It first flooded into homes around the world in the mid-1800s, changing the course of home-baking forever. Yet, it’s not worrying that it’s an aging piece of tech.
That’s because the iron coating, much like fine wine, only gets better with age.
Should any bumbling wine drinkers at your Christmas party send one crashing to the ground – along with all of your prized Christmas cookies – then they can be repaired on a whim.
What’s the best thing about cast iron? They hold up well under almost any heat temperature you decide to blast at it! This is because cast iron doesn’t rely on any chemicals, just pure, iron bliss.
So, you can sit back and watch your favorite cooking shows while the skillet flares up in the background, without any worries of damaging your precious piece of cooking hardware. The iron surface gifts another amazing benefit to your batches of muffin pancakes.
Deep, crisp coloring.
In short, if you salivate at the thought of a sweet, subtle crunch in the outer rim of your pancake, then the heat retention qualities of a cast-iron skillet are a way to achieve that. With all of this being said, the non-stick skillet is no pushover.
It comes with its bountiful mix of benefits, that make it an ideal tool.
Benefits of a Non-Stick Skillet
In the 1900s, baking changed forever when this pan entered the baking arena. Now, more than 70 percent of all pans in American households are of the non-stick kind.
How did it achieve this complete Conquista of the American household, and how does that translate to your new muffin-mix pancake mission? Well, it doesn’t stick! Let’s take butter, as an example.
Butter is a fickle thing. Its properties can make it extremely hard to work with, especially when it decides to stress you out by sticking to the pan. Well, you can fight back by slapping that butter down onto the non-stick coating that laces the surface of a non-stick skillet.
That coating is the reason that it’s found its way into the hearts of bakers. The ease with which delicate substances can be manipulated separates it from the cast iron skillet, which is much more adept at searing meat than it is handling the fluffy, light texture of pancakes.
Cast iron is the brute, and non-skillet is the finesse artist. When it comes to the aerobatic session of pancake baking, flipping them becomes much easier with a non-stick skillet due to two things.
- The curved nature of where the outer brim connects to the surface
- The slick surface
It's time to become the Simon Biles of pancake making, and start flipping in the air – your pancakes that is! There's a significant downside when it comes to this particular skillet, and its downfall could be the very chemicals that gave it the edge in the first place.
You have to manage your heat because you can break down and degrade those chemicals at high temperatures. By keeping your baking process at medium heat, you can help to extend the life of your precious skillet.
Eventually, you’ll have to replace it – preferably every four years.
When it comes to a niche area of baking, the non-stick skillet is much easier to master and manage than the cast-iron, at least in terms of delectable muffin pancakes. Now, what other tool should you arm yourself with?
The Flat, Wondrous Griddle
Even seen behind the curtains of your favorite restaurants? If you can get past the blasts of flavor that wash over your senses, you might see the grillers working. Have you noticed what they always seem to be working on?
Griddles!
They display an amazing surface, and it’s no surprise that restaurants around the world turn to them. It’s safe to say that they're fast becoming the king of the flat-flood scene. From pancakes to quesadillas, griddles gift your kitchen with versatility, allowing you to cook your ultimate meal in a snap.
They accomplish this with their flat surface. It sounds simple, but cultures throughout history have used some version of a griddle, and it’s all tied into one thing: The art of flipping.
If you want to be a flipping master, and maintain integrity around the edges of your pancake – we don’t want your batter to morph pancake-Frankensteins – then the use of a griddle allows you to push out pancakes fast, so that your day can begin sooner.
There's a wide range of griddles on the market, from cheap $20 ones to heavy, cast-iron behemoths that can range upwards of $200. The benefit to a cast iron griddle is – can you guess it?
That’s right, the high heat! With the even heat distribution gifted by the cast-iron version, you’ll get an even coloring for each pancake, no matter where they lie on the griddle surface (this also applies to cast-iron skillets).
Uniformity is a beautiful thing to impress others with, more so in cooking! Fashion…debatable.
So be careful if you opt for the griddles on the cheaper side of the coin, as they might not be able to withstand the heat you blast at them.
You can’t become a flipping maven with your bare hands unless you don’t value the skin on them. If you do, then you’ll have to arm yourself with a spatula.
Spatula
We all know what this tool is. Even when growing up, I could point out a spatula if my mother screamed for my help from the fuming kitchen. The key lies in how to wield it!
Here are some tips and tricks that you can use to achieve the perfect flip with your spatula.
#1: The Right Temperature
Searing can be the bane of any pancake crafting process, causing the pancake to attach to the surface of your skillet. Once that happens, there is little hope of coming out with a clean, circular shape.
More likely you’ll only get a scene worthy of pancake CSI.
To avoid any gory pancake murders on your skillet, keep the heat at medium-low so that your spatula can work its way underneath the pancake with ease. After all, you don’t want your breakfast food to be a source of stress for you.
To achieve a clean flip, the pan’s surface should be steaming. If you see smoke, then that’s a good sign that you’ve resigned your pancake to a grisly fate. Is there anything else that you can do to protect the dignity of your muffin-mix pancake?
A little butter-assist goes a long way.
It adds flavor to your golden brown pancakes while allowing you to flip them with ease. So, unroll those sticks, it’s time to start flipping with the best of them.
Apply a pad of butter to the center of the pan. As the heat of the pan starts to melt away the butter, it'll seep into the surface of your pancake, as well as fanning out to the rest of the pan.
Still, you want that golden hue on both sides of your rich pancake. So, before the flip, add another, smaller, pad of butter.
#2: Size Matters
This causes some members of our species to shrink away in shame, but when it comes to spatulas and pancakes, there can be no greater truth, other than pineapple on pizza is a travesty!
Should you have a spatula that doesn’t allow for the pancake to sit on it, then it will start spilling over the sides. When that happens, your pancake will start to look like the passengers on the newest Titanic sequel. To avoid this sticky maritime fate, a spatula with a wide area is a great gateway to easy and smooth flipping.
#3: Consistency Matters
Muffin mix isn’t pancake mix. So, it’s important to understand that you’re playing with a very different beast; if you don’t take into account that the Muffin mix is denser, then you might get bitten.
Trying to flip a heavier pancake means that you’re enlisting into a war against gravity. More often than not, that’s a war that gravity will win, because a pancake will rarely have the same level of density throughout.
If you have just a little seam that’s not cooked all the way through, while the sides are nice and firm, then the motion of a flip will cause gravity to tear your perfect creation into two, distressingly tragic pieces.
How do you make sure that your pancake isn’t drawn and quartered like some medieval criminal?
Make your Muffin Mix pancakes smaller, so that they are easier to manage on the flip.
Just don’t pay heed to the one golden rule about knowing when to flip a pancake. You see, it’s been said that bubbles are your best friend, and usually the best way of knowing when to send it flying. Only, that’s for pancake mix, and we aren’t dealing with pancake mix here.
Density is the key factor that is throwing off this equation.
Since there’s more matter for the heat to push through, bubbles will take longer to reach the surface. It’s like when the thief has to drill through a thicker safe. With thinner ones, he swiped the money before the cops could cuff him. But now, time is against him.
Don’t be like the thief. If you wait for bubbles to crop up, then chances are that the bottom of your muffin mix pancake is burnt to a crisp. Throw on those cuffs for pancake murder!
That will only add to your stress, on top of the screaming children bouncing around the kitchen demanding their food.
With a muffin mix pancake, the bubble sign has been swapped into the bad buy. If they start rearing their ugly heads, then you know that you waited to flip too late. Game over, cuffs locked.
Hopefully, you got the mix of the batter balanced just right. If not, then try investing in this next tool.
Whisk
That balance can be achieved through a variety of different whisks. Which one you use might ride on your taste. But if you want the most consistency, with fewer bulging clumps in your savory batter, then there just might be a winner here.
Which one should you deploy?
Balloon Whisk
This is perhaps the stereotypical version of what most people envision when they think of a whisk.
The bulbous balloon shape grants you a host of different uses, and the ones with stiffer wires make them much more adept at slicing through stubborn ingredients, like our thick muffin mix!
You might see the thick mix clinging to the whisk wires, which could add a little bit of stress when cleaning it, as the odd shape of the wire can make it hard to fit a cloth into there to wipe away any excess bits of your heavenly pancake.
The French Whisk
The name tells it all: this whisks design reeks of elegance, a gift of its tapered design. But looks aren't what you're after. You want functionality!
Unfortunately, if you're looking to craft muffin mix pancakes, then this might not be the right tool for you. Its tapered design means that it’s much thinner than the standard balloon whisk, or even the final whisk option.
What it does do well is mix thinner materials together, like sauces. On the other hand, the tapered design might cause some of the wires to bend at some angles, should it come to fighting against that thick batter.
The next option here fares much better than its elegant French cousin and might surprise you in the battle for the best whisk.
The Ball Whisk
If you're a fan of ancient, historical movies, then this harmless whisk might drum up images of fierce flogs that were tipped with balls of steel. While this whisk isn't for railing against the backs of criminals, it uses that same design to mercilessly mix the ingredients of your batter.
It does so with peak efficiency, allowing you to get you to batter onto the griddle in a flash.
These individual wires of the whisk mean that it's the Olympic gymnast of our whisks -- each one can bend and move independently, allowing you to rapidly cover the area of the mixing bowl.
That might not even be the best part, depending on how much cleaning stresses your psyche. Since no entangling wires are crisscrossing each others' path, you can clean the ball whisk in a flash!
Say hello to perfect mixes, and kiss stress-induced messes goodbye.
Ball whisk or balloon whisk (sorry French whisk) might depend on your taste. Both are great for all-purpose mixes, but only one is easier to clean.
Unfortunately, your whisk is no good if you don't come to the table with this next tool, a common staple in every household.
Mixing Bowls
Not every mixing bowl is created equal, as is the case with every home good.
Some can be rushed into the microwave, while others can't. Some are rustproof, while others are dishwasher safe. Whether you prefer non-slip, deep, shallow, gold, blue, or rainbow color, it doesn't matter.
There's only one feature of a mixing bowl that should concern you in your quest for the perfect muffin mix pancake: the brim.
The Brim Factor
Many of you might’ve experienced this. You mixed something in your raggedy mixing bowl and raised it high above your simmering pan. Your eyes light up, waiting for the satisfying sizzle as the batter landed on the steaming surface.
Only, you were so caught in a daydream that you forgot to notice something.
The batter was pouring out all over, splattering all over the surface of your mint-condition stove-top.
That's the risk you take with a circular-brimmed mixing bowl, which makes the art of pouring much more arduous and dangerous for your pristine kitchen.
If you want ease of use, then there's one mixing bowl that you should be going after — the gourd style!
This is a mixing bowl that forms a funnel in the brim, allowing you perfectly whisked batter to pour out in the funnel, and neatly onto the skillet. It also makes it much easier to achieve the perfect, sun-drop shape on your skillet ( another tool we'll cover will build on this "art").
Stop with the messes, and embrace a relaxing baking experience with these mixing bowls.
Measuring Cups
These can seem like a dime a dozen. Eventually, they start to blend into the same shape, and the same color, so it can be hard to see just how vital they are for your muffin-mix pancakes.
There are two things to consider when committing to the perfect set of measuring cups.
- Are they easy to level
- Are they durable -- the markings, that is
Why should leveling and markings matter? Because if you want the perfect taste, consistently, then you'd best heed what's about to be said.
Embrace Flatness
Some cups are designed with major flaws, especially when it comes to doing their job, which is measuring!
Some cups try to get too fancy and inject some contours into their design. After all, we don't like boxy, unsightly things in this day and age! But when it comes to measuring cups, flat, boxy, and boring equates to measuring bliss!
If you don't have a flat base for your measuring cups, then the liquid inside will tilt back, forward, and sideways, and you'll never get a proper measurement.
Keep that in mind next, when you find yourself shying away from flat designs in the cooking aisle.
The next crucial factor might be harder to catch, at first glance.
Mark It Up!
If the markings on the sides of the cups begin to fade, then we have a problem! This can happen when repeated washing starts to fade away the denominations on the sides of your brand-spankin' new cups. So, be sure that they come notched with permanent markings, or else you’ll be flying blind with your measurements.
Pancake Pen
Are you tired of the same old circles in your pancakes? Are you seeing orbs everywhere you travel on your commute? Then change things up, and start making your muffin mix pancakes stand out from the rest, with this delightful tool.
No, it won’t shift the same, hum-drum shapes you see on your work commute, but it can allow you to create unique shapes on your skillet! It might even provide a goldmine for Instagram-worthy moments on your feed.
Simply pour your batter into this “pen”, and squeeze it out onto your skillet. Turn your pancakes into golden sunflowers, or any other shape that your imagination whips up. No matter what you choose, this is a novel way to have fun with your baking, and break up your routine a little.
Now, go out and gather your arsenal.
Without these tools, it only becomes harder to craft the ultimate muffin mix pancake. If you make this a stressful process, then the marching drum of boredom and fatigue will start to set in, and you’ll be mired in the same dull routine you found yourself in.
With these tools, you can make the process a creative, refreshing breeze, for both you and your family. There’s yet another key to this fluffy, delicious puzzle: Your ingredients.
Foundation Ingredients
A lot of us shy away from long-winded ingredients that readout like a copy of the ancient dead sea scrolls. The beauty of the muffin-mix recipe lies within its simplicity – at its core, you only need three ingredients.
- Milk
- Eggs
- Muffin Mix
With the never-ending carousel of milk varieties, which one is best to deploy in your delish muffin mix? At the end of the day, it comes down to the three standard-bearers:
- Whole
- Low Fat
- Non-Fat
Generally, recipes call for whole milk. Regardless, if you took each option into the lab, and ran experiments, then chances are that you’d barely notice the difference. You can utilize flour to help with consistency, and we have an amazing selection to peruse!
That’s it! We’ll see in the following recipes how you can twist and morph those ingredients to create a flurry of different muffin-mix dishes.
Recipes
Oh yes, this is where it gets good! Break out your notes, just don't get batter on them!
#1: Fruit Muffin Mix Pancakes
If you identify with the gum-chomping girl in Willy Wonka, who morphed into a bulbous blueberry, then this fruit-packed delight will be right up your alley! It hits with flavor and is easy to whip up.
Ingredients:
- 1 large egg
- ⅔ cup milk
- A non-stick cooking spray, or stick of butter.
- For the base fruit, you'll use any blueberry mix, whether Martha White, Betty Crocker, or anything in between.
- Raspberry, or Strawberry jam to dash on top.
Equipment Needed:
- Griddle or Skillet
- Mixing Bowl
- Whisks
- Pancake Pen, should you wish to go all out!
Get your ingredients on standby, because it's time to start.
First things first, you’ll want to get your skillet, or griddle, heated up to 350 degrees. This is so that you can conquer the other materials while that’s in process. You can spray the skillet with some spray, but if you’re using butter then hold off on greasing that surface.
The reasoning is so that the butter can melt more smoothly into your batter.
Take your large egg, and crack it into your mixing bowl. Using your whisk, start to beat the egg until you get a consistent yellow.
If you opted for butter, depending on how frozen it is, plop that onto the skillet. Meanwhile, toss in the muffin mix and milk. Stir until the large lumps vanish.
If you want thinner pancakes, then add an extra third cup more milk.
Before the butter has vanished completely, pour the batter onto the skillet. When you start to see bubbles, flip your pancakes immediately to avoid a crispy fate.
Wait 1 - 2 minutes, and then you should have some golden pancakes that are packed with fruity goodness.
Don’t forget to add a splash of jam to accent the juicy blueberries!
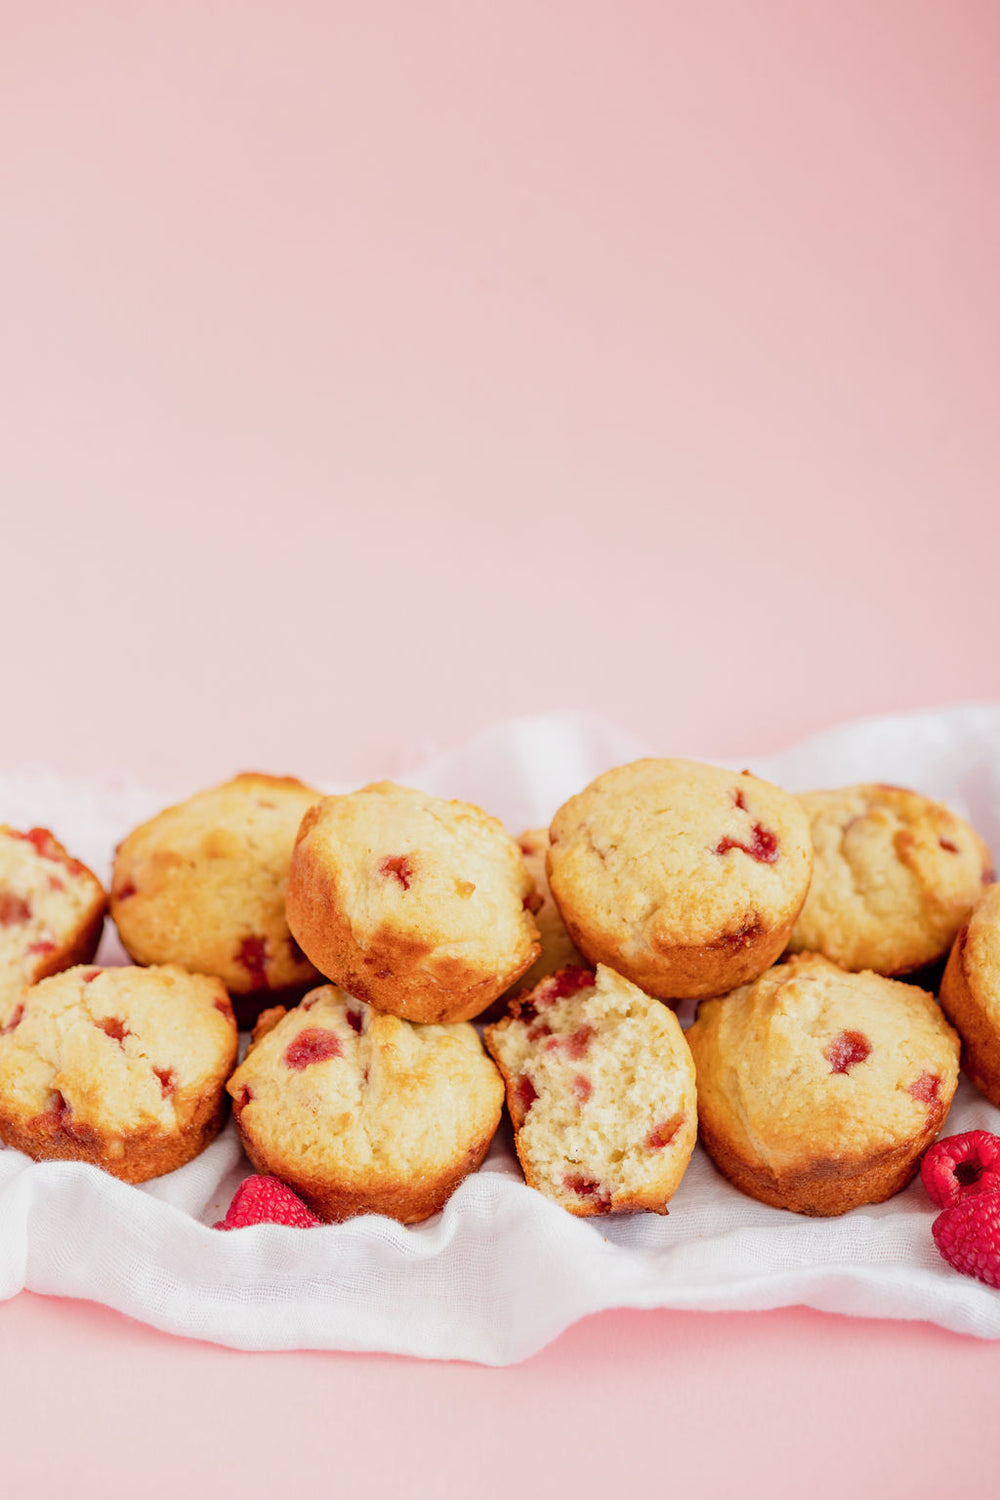
#2: Triple Berry Muffin Mix Pancakes
Who doesn't love a scrumptious berry muffin? Not many people, so get ready to jot this recipe down!
Ingredients:
- 1 pouch of triple berry muffin mix.
- 1 tbsp of all-purpose flour
- 2/3 cup water
- 2 tbsp vegetable oil
- 1 egg
If you wish, you could also throw in some powdered sugar, or pancake syrup, for a dash of added sweetness.
Equipment needed:
- Skillet, or Griddle
- Mixing Bowl
- Whisks
Now, what are the steps to baking this mouth-watering muffin mix dish?
First, heat the griddle or skillet to 300 degrees. Apply your non-stick spray, especially if you're opting to use a cast-iron surface.
If you're sticking with butter, then hold off on applying it until you have had the batter mixed.
While the skillet or griddle is building up heat, start beating the large egg. Your triple berry muffin mix should then follow after you're happy with the uniform yellow color. Mix in the…mix…as well as the rest of the ingredients. If you want to inject some extra sweetness, then hold off on the powdered sugar for now.
Grab your measuring cup, and get a level measurement of 1/4 cup. That will be the measurement of each pancake.
Flip until you start seeing that bubbling action, and then wait an additional 1-2 minutes.
Once nice and golden, serve them with powdered sugar or syrup. For some extra berry action, lay two to three berries on top of each pancake, with them coated in powdered sugar and syrup. Stuck on the same, routine syrup? Then change it up with our diverse selection!
Voila! You have a delectable serving of 9 pancakes! Perfect for you and your family to ignite your mornings with the power of berries!
#3: Blueberry Unleashed Muffin Mix Pancakes
With this next recipe, you just might balloon into a blueberry. This decadent morning option bursts with all of the juice needed to energize your day.
Ingredients:
- 1 large egg
- 2/3 cup of milk
- Non-stick cooking spray, or 1 stick of butter
- Blueberry Muffin Mix
- 1 cup of blueberries
Equipment needed:
- Skillet, or Griddle
- Mixing Bowl
- Whisks
Let's break down the Instructions.
Start with heating your skillet or griddle, as you'll be aiming for 350 degrees. Spray on your non-stick spray, so that the coating is nice and ready for your pancakes once the batter is finished.
If you're opting to use butter, then go ahead and wait to apply until you have the batter nice and prepared.
Start preparing the large egg, as you whisk it away to your heart's content, beating it into a uniform coloring. Once that's wrapped up, then start mixing in the mix, and the milk. Get it nice and consistent, and pour it out onto the skillet, with each pancake being 1/4 cup.
Now, once the pancake is on the skillet, this is where time is of the essence.
Pull out about 4-5 blueberries for each pancake, and place them on top of the surface. Cut a little incision into the top, to release the juices within!
Once you start to see bubbles, then flip the pancakes. The blueberries should've settled into the batter, especially as the mix puffs up.
Once flipped, the juices within the batter will expand out, providing a savory, moist burst to each bite.
Variations
The recipes don't have to end there. You might've noticed that each recipe utilizes 3 ingredient pancakes, just with different flavored mixes.
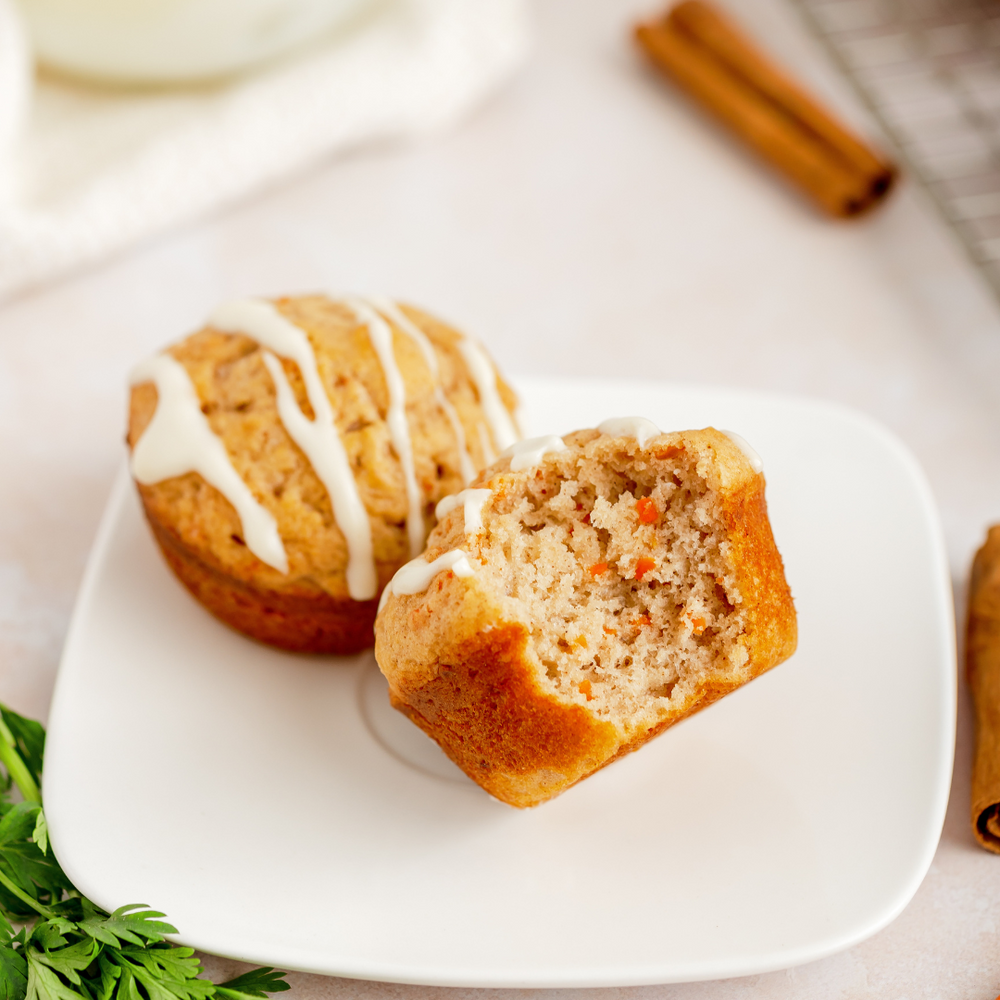
This means something earth-shattering for your future career as a muffin-mix pancaking chef -- you can change the recipe simply by swapping out the mix! Not only that, but you can further enhance and accent the recipe by adding additives to the batter, such as:
- Nuts
- Bananas
- Peanut Butter
- Berries
- Cholocate Chips
- etc.
What happens if you run out of eggs? Don't start flipping couches over, and rearranging the kitchen as you frantically hunt for spare eggs.
Egg Substitutes
Check out some of these egg alternatives, to add some flair and flavor to your pancake dishes. They're also splendid healthy alternatives to the cholesterol lurking in eggs.
#1. Nut Butter or Seed Butter
How does that work, you might be asking! Well, do we think of milk as something that can bind the flour or mix? Not quite. When you throw something like peanut butter into the equation, then you have a binding agent that can be the perfect substitute for your missing eggs.
This isn't even mentioning the rich flavor that it adds. How much do you add?
For every egg, add 2 tbsp of nut butter. There are different types of nut butter that you can use, so, let's explore the properties of one of them.
Peanut Butter
The oil cream in peanut butter, which usually comes in paste form, is a great way to "glue" the mixing together with the milk. If you decide to opt for the crunchy variety, then you'll be adding some nutty texture to your otherwise fluffy pancakes.
A little crunch never hurt anyone.
It does come with a downside, though. If you're the one who always has his/her calories on lock, then you might want to reconsider this option, as peanut butter packs a huge caloric intake!
On the other hand, it's a dream for vegetarians!
#2. Yogurt
Yogurt comes with many flavor variations as the dizzying myriad of pancake mix flavors. This allows you to enhance and alter the flavor of your fluffy creations, but they also allow you to cut out the cholesterol in eggs.
Yogurt has two tangible benefits:
- It adds a touch of moisture to your muffin-mix goodness
- It binds the mix and milk together
Despite the flavor variations, it’s best to use a plain-flavored yogurt, so that you don’t run the risk of making your pancakes a bumbling mix of mismatched flavors. So, embrace the probiotic bliss of yogurt in your recipes!
For one egg, use ¼ cup of yogurt.
#3. Mashed Banana
It could be said that bananas go great with everything: banana splits, banana bread, banana ice cream, banana pajamas, banana underwear (ahem)!
Whatever the use, bananas dish out a rich flavor that can complement a vast ocean of recipes, allowing you to swim in a world of vibrant flavors. How do you do it?
For every egg, you can use ¼ cup of banana puree. You can make your puree, just beware of adding too much milk when you blend the bananas, as that can cause it to become too “loose”, and it won’t be able to bind the ingredients together.
#4. Ground Flax, or Chia Seeds
Those on vegetarian trips will surely appreciate this sub-in for eggs. If you want to embrace the power of omega-3 fatty acids, and the heart-saving powers within, then it’s very easy to prepare this for your succulent muffin pancakes.
First, grab your flax seed powder, along with some water. Mix the flaxseed powder with the water, until it starts to morph into a gel-like substance. This will be what you’ll use to bind the ingredients of your muffin mix pancake together.
Outside of boosting your heart, each bite into your pancake will inject a fresh, nutty flavor into your taste buds.
#5. Applesauce
That’s right! That rich and sweet sauce that your kids paint their faces with can also be used as an egg substitute! Much like yogurt, they add in a touch of moisture, while also holding your ingredients together.
It juices up the sweetness factor, which is something to consider if you're on a dietary journey. It hits hard with vitamins, grants you more energy, and gifts you with a hint of apple heaven with each bite. The sauce also holds within its savory surface a chemical that can help fight back against cancer, diabetes, and heart disease: phytochemicals.
Just be careful using the sauce that your children love at school – the one exploding with sugar and artificial flavors. After all, your children will be too preoccupied with the mouth-watering muffin mix to notice the healthy apple sauce that you tricked them into eating.
For one egg, use ¼ cup of applesauce puree.
Stop the Dull Mornings
Through this, you can start crafting your unique recipes, that not only scream social-media worthy but also give you and your family the morning you need, so that you can do one thing.
Win the war against lethargy!
So you can keep on making the same old toast and egg combo. Or start injecting life into your days with these muffin mix pancake tips! But techniques need their ingredients.
Check out our savory selection of top-shelf products, so that you can make your mornings special.


Leave a comment